BackupNetClone Installation
Step 1: Gain Access to the Backup Server
The first step for running BackupNetClone is setting up the backup
server so that you have command-line access. When using a standard
PC, this is a trivial step, and you can go ahead to
Step 2. On the other hand, if you plan
on using a NAS device such as the
D-Link DNS-323 with
BackupNetClone, then you'll need to do some initial setup that will let
you make customizations to the device beyond its original design.
The remaining instructions for this step assume you have the DNS-323. As
such, I will outline how to start using the device from having just
unpacked it from the box. If you have a different device to use as the
backup server you'll have to figure this step out on your own. I
recommend checking out
this page
which has pointers to many NAS device community websites.
 |
 |
 |
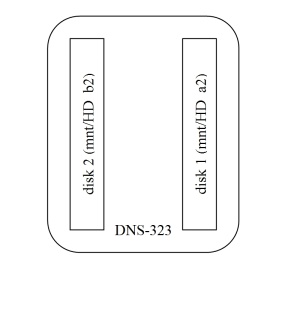
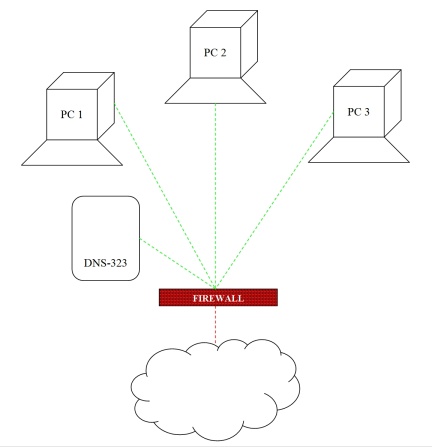
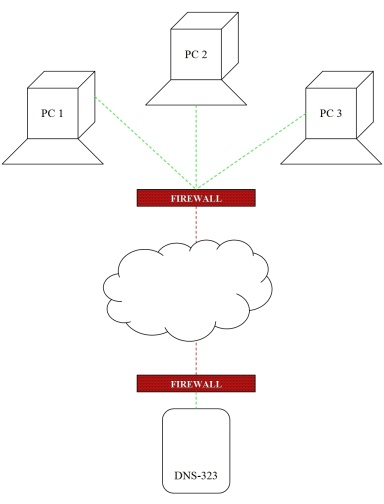
| A. Disk Backup |
B. Onsite Backup |
C. Offsite Backup |
Ok, so up to this point, you've basically done nothing! You're starting out
from the beginning. For any of the configurations above you need to follow
these steps:
- Make sure the DNS-323 has at least one disk drive and is on the
network, is plugged in and turned on.
- Find the device using D-Link Easy Search Utility found on the CD or on
D-Link's web site.
- I recommend assigning a static IP address to your device at this
stage. It will make it much easier to find the device and forward
a port to it if you want to access it from outside your network. To do
this in the Easy Search Utility, just change the "Receive DHCP" setting
to "Disable". Then change the last number in the "I P" to be something
above 200.
- Now go to the device's configuration web site by putting in the IP
address you assigned in the last step in your web browser's address line.
You can also use the Easy Search Utility to do this by pushing the
"Configuration" button. Configure the DNS-323 to your liking.
- Be sure to update your DNS-323 with the latest firmware from D-Link.
- Download the Fonz's fun_plug by going to
http://www.inreto.de/dns323/fun-plug/.
Get the latest stable version (named funplug-xxx.tar.gz) and
save the file on your computer. (NOTE: Instructions on this site
are currently oriented to the 0.3 version of Fonz's fun_plug. Version
0.5 and later, referred to as 'ffp', use a slightly different directory
path: 'ffp/' is used instead of 'fun_plug.d/'. If you have any doubts
as to which version of Fonz' fun_plug to get, use 0.3 until I have
updated all instructions for 0.5, at which time I will remove this
comment.)
- Navigate to the first share on the DNS-323 by using its assigned
IP address. For example, type the following in the Windows Explorer
address bar: \\192.168.1.200\Volume_1. You can also map a
drive letter using the Easy Search Utility.
- Unpack funplug-xxx.tar.gz to the root of Volume_1. You should
get two files: fun_plug and fun_plug.tar. To unzip the
.tar.gz file you can use free utilities such as
IZArc.
- Reboot the DNS-323 and wait a minute. Your DNS-323 now has telnet
access!
- Download and install
PuTTY to
use as a telnet program.
- Telnet into the DNS-323 using
PuTTY. You should get a prompt that looks like the following:

- Congratulations! You've gained command-prompt access
to your DNS-323 and can move on to the next step.
- If you need more help for this step, here are other sites to check
out:
- At this point you can also add additional features to your DNS-323,
such as:
- SSH server to log into DNS-323 through SSH: See
my instructions on setting up
SSH on the DNS-323 if used in the A. Disk Backup
configuration.
- Fix clock drift issue: See the
Wiki
Entry or upgrade to US firmware 1.04.
- Move fun_plug and logs to a USB flash key to avoid unnecessary
disk spinup: Read my
instructions on how to do this easily.
- Change Gigabit port to use jumbo frames for faster network
access: See this
forum entry and
this forum entry.
- Web server: See this
Wiki Entry
or simply use
Fonz's lighttpd
and php packages.
- Music collection browser (for playing music on the Wii, for
example): Read
this
forum entry and visit the
Music Browser
web page.
- Update the built-in media server to have additional features:
Start at the unofficial
DNS-323
Forum and search for words such as firefly or twonky or
mediatomb.
- Auto-shutdown capability from UPS: Read
this
forum entry as a start. I will be using an APC UPS connected
to a Windows PC (running
Apcupsd) to send either
an SNMP trap to the DNS-323 (once apcupsd is compiled for the
DNS-323) or just using plink to send a 'touch' command as
mentioned in
this
forum entry.

Benjamin L. Brown, released to the Public Domain.


